In the final part of this three-part series, I’ll give technical step-by-step instructions for how to wire up our Twitter bot, @BotfonsNeedles, to Docker and deploy it on the free tier of AWS Lambda, so that it can run until the end of time. I’ll also include some tips that I wish I knew when I got started.
If you’d like to make a Twitter bot, but find this guide intimidating, you can fork the repository and follow the README on the GitHub page for my other bot, @oeisTriangles. Or better yet, I would love to set up a call and walk you through it step-by-step! Just let me know on Twitter.
The plan
- In Part I of this series, we wrote the Python code that outputs Tweets (with images) for @BotfonsNeedles.
- In Part II of this series, we got a Twitter API key and hooked it up to the program with Tweepy.
And in this final part, we will
- build and run a Docker image so that you can run it on a local server,
- push the Docker image up to Amazon Elastic Container Registry (ECR),
- hook up the Docker image to an AWS Lambda function, and
- configure the function to run on a timer in perpetuity.
Turn it into a Docker image
Next, we’ll package this up in a Docker image so that AWS Lambda has everything that it needs to run this function. Begin by downloading Docker if you don’t already have it installed.
Next, we’re going to add a new file called Dockerfile from an AWS base image for Python, which will look like this.
FROM amazon/aws-lambda-python:3.8

RUN pip install tweepy
RUN pip install Pillow -t .

COPY random_needle.py ./
COPY needle_drawer.py ./
COPY secrets.py ./
COPY twitter_accessor.py ./
COPY tweet_builder.py ./
COPY app.py ./

CMD ["app.handler"]
- The
FROMline says that we’re going to use an Amazon Linux box that has been pre-configured to have Python 3.8. - The
RUNlines help us to install the Python libraries that we need. - The
COPYlines say to move the corresponding files from the local directory to the current directory (./) of the Linux box. - The
CMDline says that when you talk to the server, it should respond with thehandlerfunction from theapp.pyfile.
Building a Docker image
Now, we’re going to build the Docker image. Make sure you’re in the proper directory and name the bot botfons-needles (or something else you’d like) by running the following command in the directory containing your Dockerfile:
docker build -t botfons-needles .This command will probably take a while to run. It’s downloading everything to make a little Linux box that can run Python 3.8, and doing some additional tasks as specified by your Dockerfile. Once this process is done, set up a local server (on port 9000) for the bot where you can test it out by running
docker run -p 9000:8080 botfons-needlesIn order to test your code, run the following cURL command in a new terminal:
curl -XPOST "http://localhost:9000/2015-03-31/functions/function/invocations" -d '{}'If everything works, you’re ready to move on to the next step. More likely, something is a little off, and you’ll want to stop the server, and rebuild the image. To do this, find the name of the local server with
docker container lswhich will return a CONTAINER ID such as bb81431991sb. You can use this ID to stop the container, remove the container, and remove the image.
$ docker stop bb81431991sb
$ docker rm bb81431991sb
$ docker image rm botfons-needles
Then make your changes, and start again from the docker build step.
Push to Amazon ECR
In this step, we’ll push our Docker image up to Amazon. So go to Amazon ECR, log in or create an account, navigate to the ECR console, and select “Create repository” in the upper right-hand corner.

This will bring up a place for you to create a repository name.
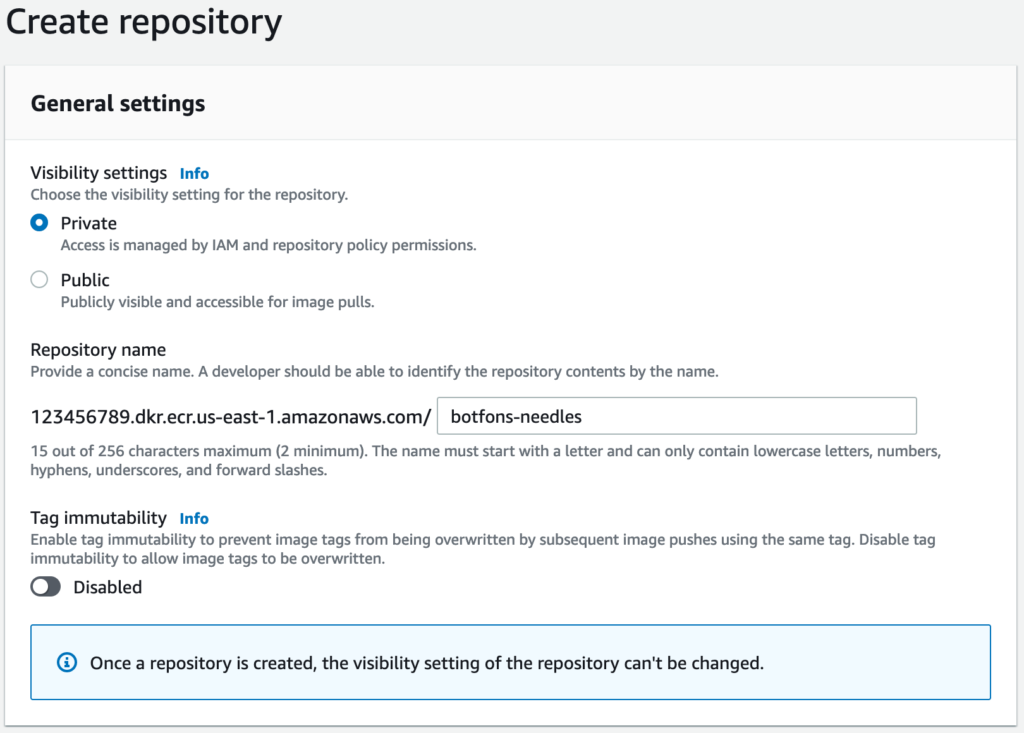
Now once there’s a repository available, we’re ready to push our local copy up. Start by downloading the AWS Command Line Interface and logging in to AWS. Notice that there are *two* references to the server location (us-east-1) and one reference to your account number (123456789).
aws ecr get-login-password --region us-east-1 \
| docker login --username AWS \
  --password-stdin 123456789.dkr.ecr.us-east-1.amazonaws.com
Now all you need to do is tag your docker image and push it up. Get your Docker image ID with docker image ls, and (supposing it’s 1111111111), tag it with the following command (again, making sure to specify the right server location and account number):
docker tag 1111111111 123456789.dkr.ecr.us-east-1.amazonaws.com/botfons-needles
Now you’re ready to push! Simply change 123456789 to your account number and us-east-1 to your server location in the following command and run it:
docker push 123456789.dkr.ecr.us-east-1.amazonaws.com/botfons-needles
Hook up to AWS Lambda
Now you’re ready to wire this up to a AWS Lambda function! Start by going to the AWS Lambda console and click “Create function”

This will take you to a page where you’ll want to select the third option “Container image” at the top, give your function a name (e.g. myTwitterBot) and select the Container image URI by clicking “Browse images” and selecting the Docker image you pushed up.
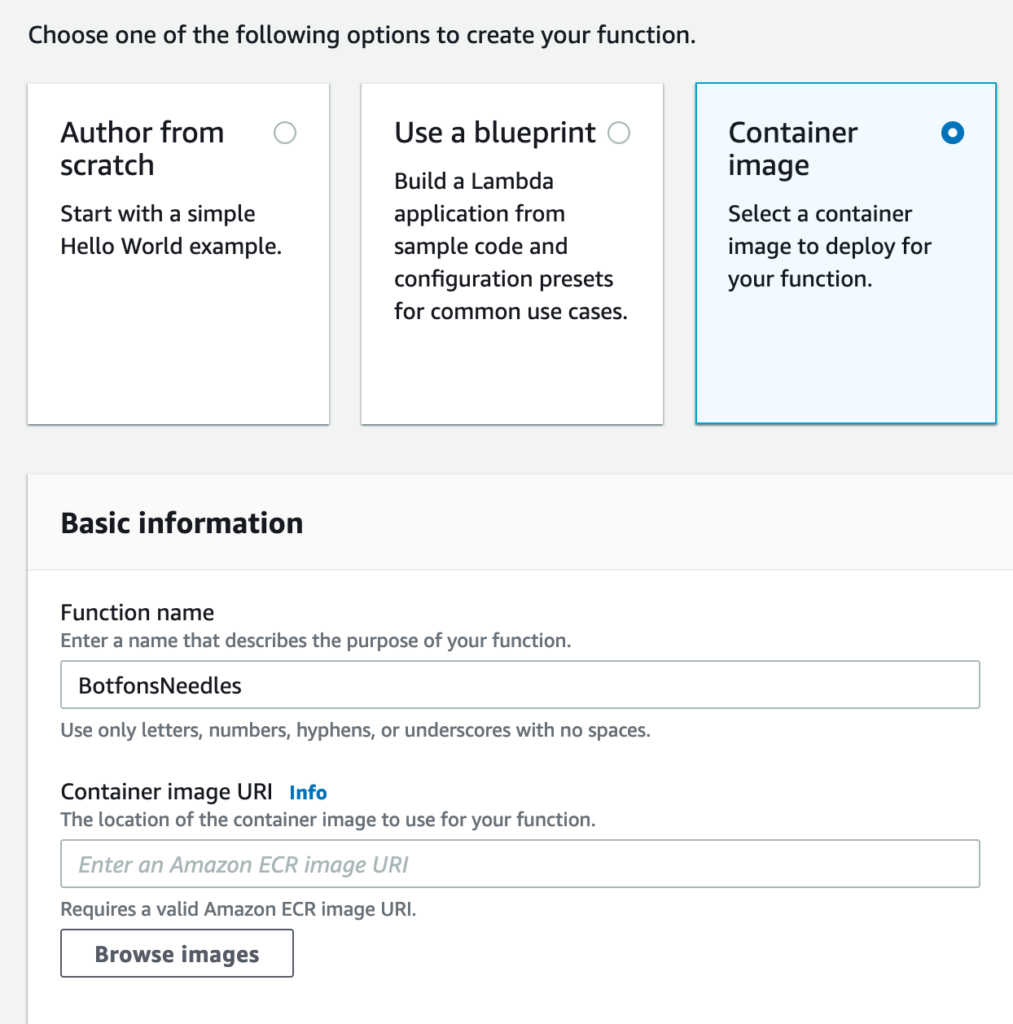
Search for the image you just pushed up, choose the latest tag, and “Select image”.
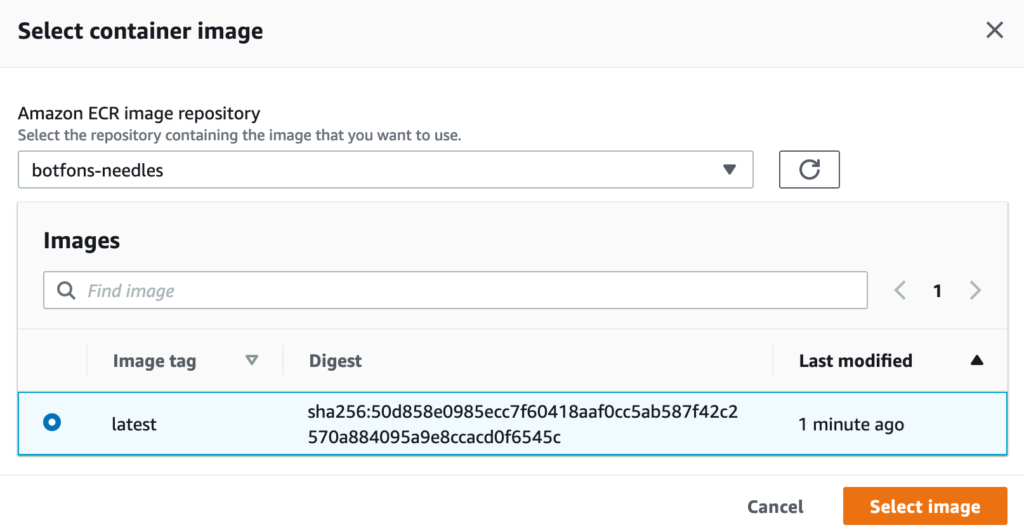
Then the dialog will go away, and you can click “Create function”, after which your function will start to build—although it may take a while!
Next, you’ll want to test your function to make sure that it’s able to post to Twitter properly!
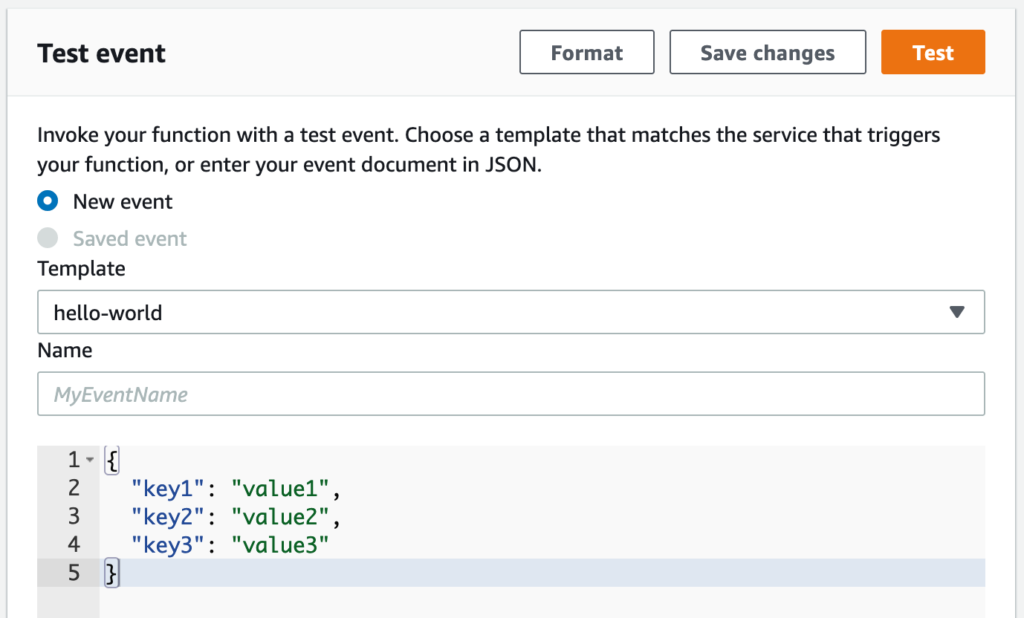
With the default RAM and time limit, it’s likely to time out. If the only thing that you’re using AWS for is posting this Twitter bot, then it doesn’t hurt to go to the “Configuration” tab and increase the memory and timeout under “General configuration”. (I usually increase Memory to 1024 MB and Timeout to 15 seconds, which has always been more than enough for me.)

Run it on a timer
If things are running smoothly, then all that’s left to do is to set up a trigger. Do this by selecting “Triggers” in the “Configuration” tab, clicking “Add Trigger”, selecting “EventBridge (CloudWatch Events)”, and making a new rule with schedule expression rate(12 hours).
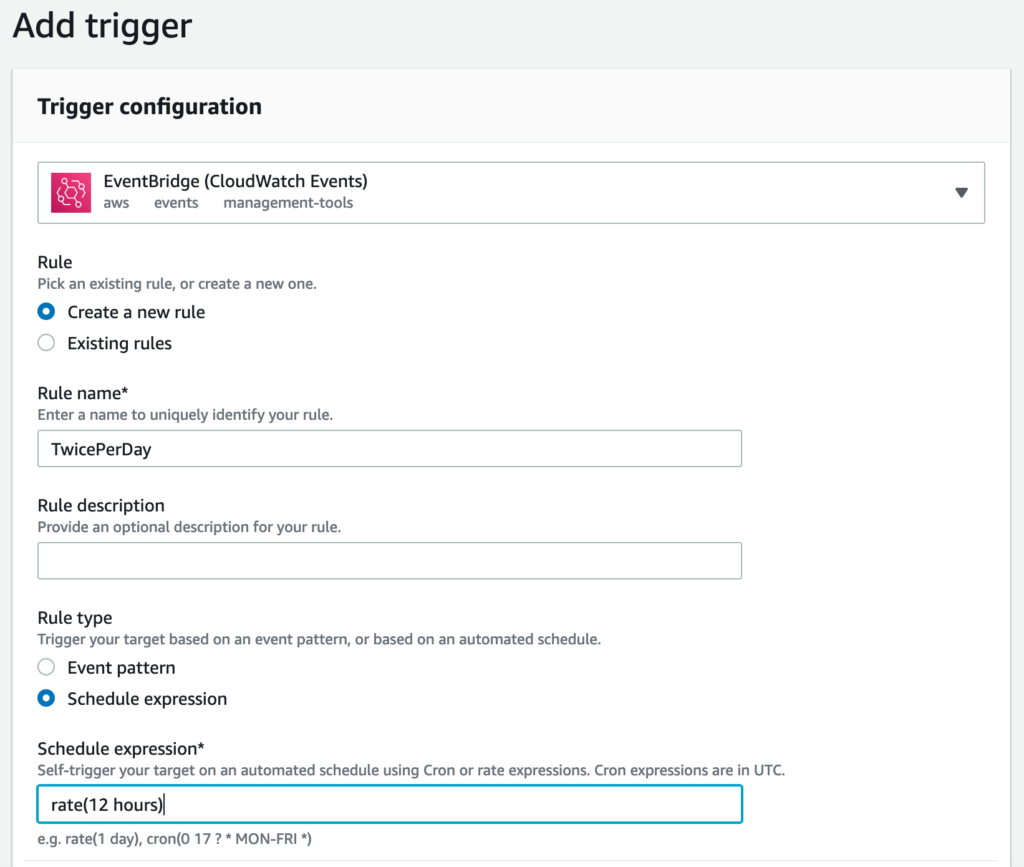
That’s it! AWS Lambda should trigger your bot on the interval you specified!
There’s only one step left: send me a message or tag me on Twitter @PeterKagey so that I can follow your new bot!
Leave a Reply